반응형
1. Jar 파일 생성하기
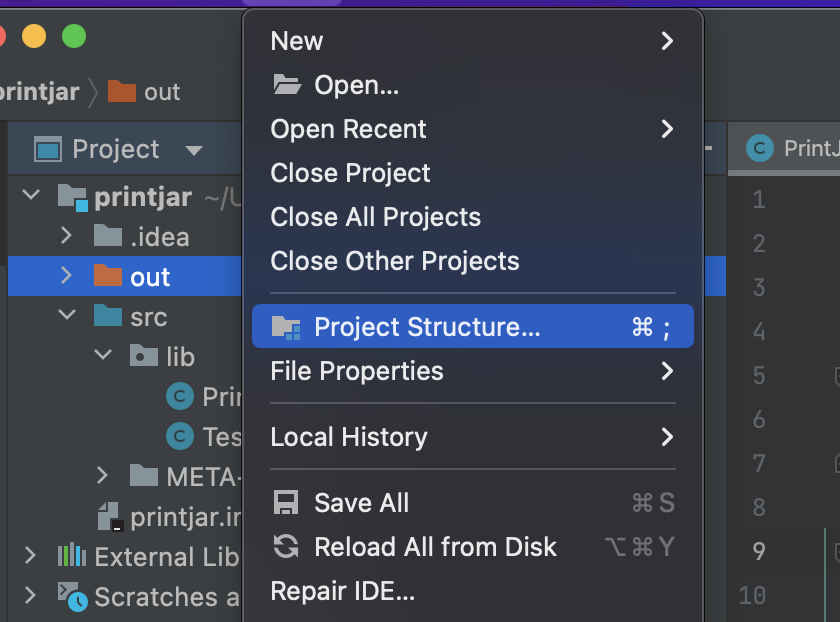
1. File > Project Structure
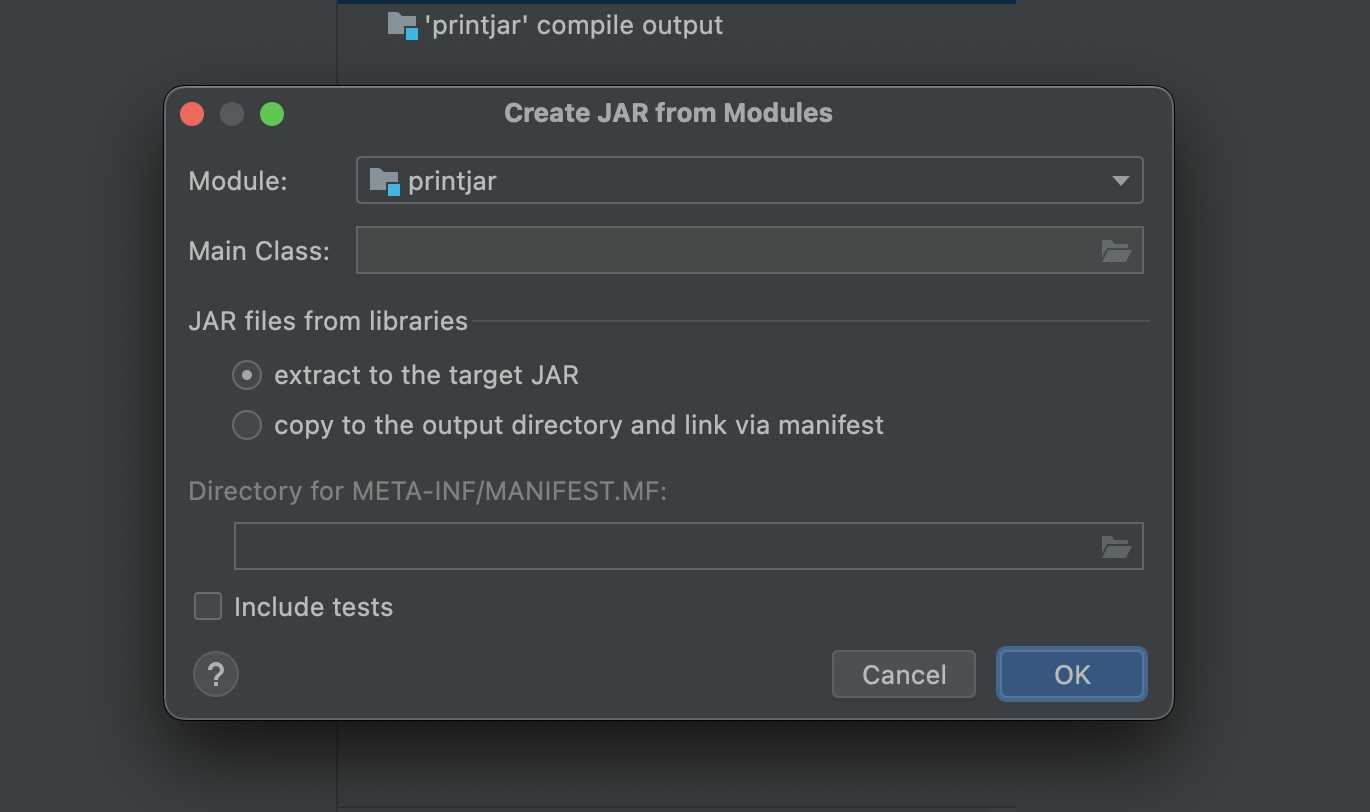
2. Artifacts > + 버튼 클릭 > JAR > From modules with dependencies...
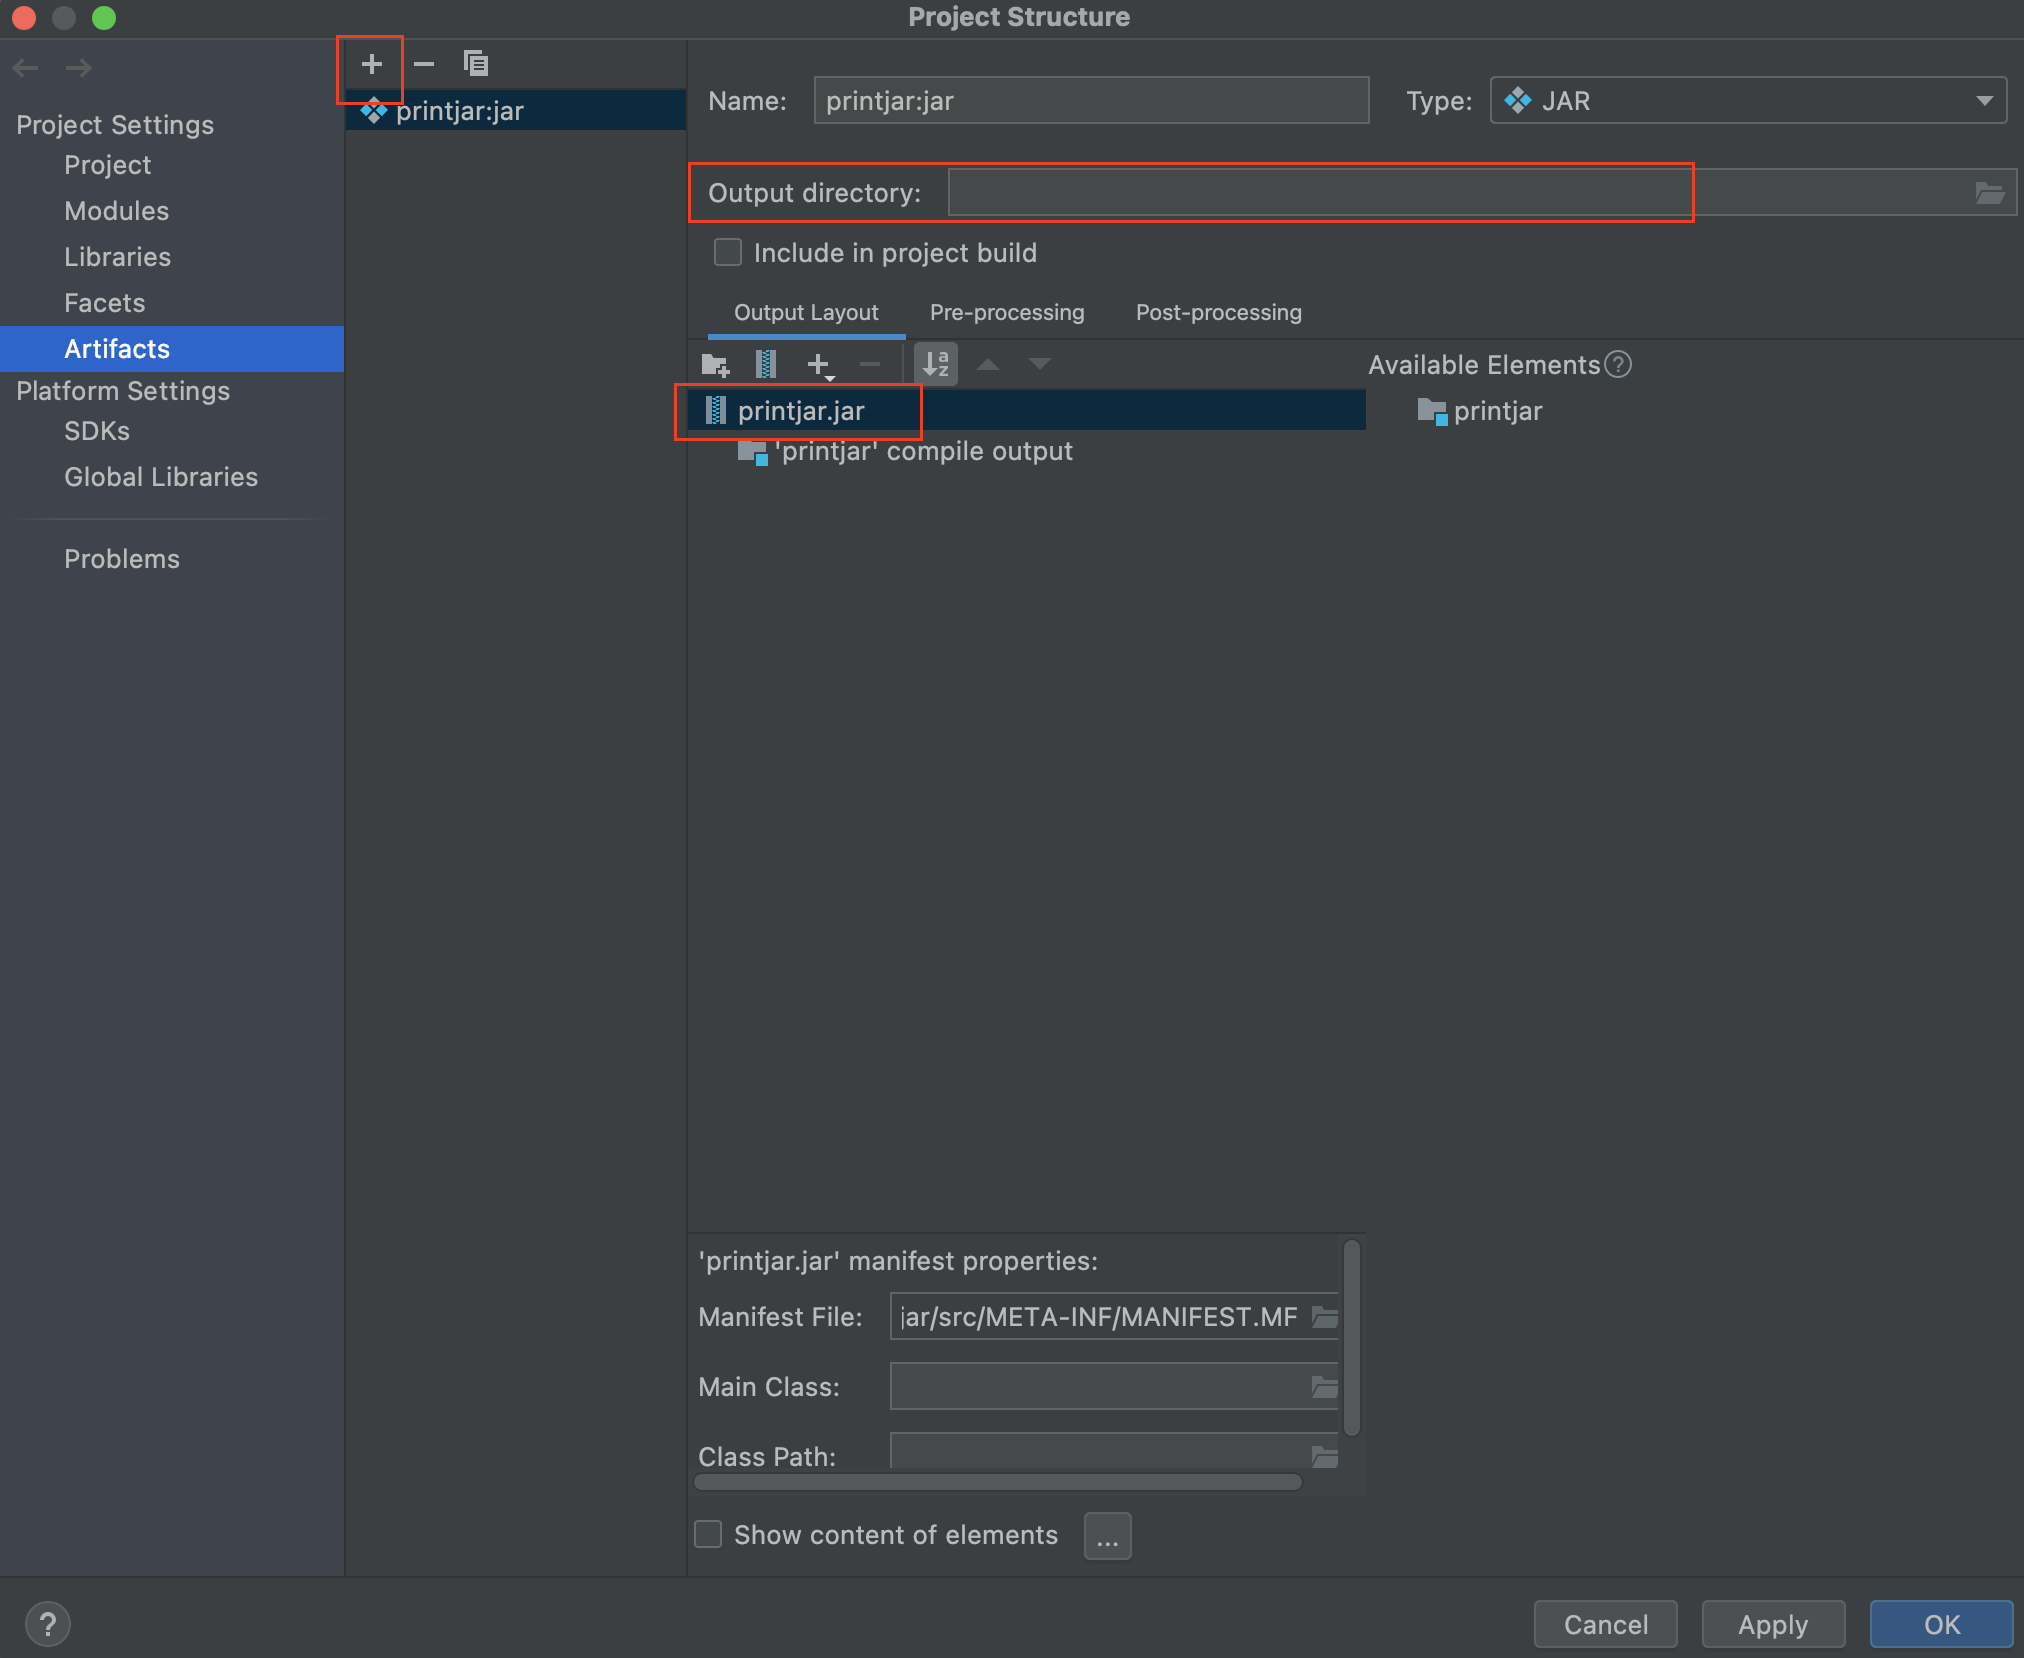
3. Main Class - Jar 실행 파일을 생성할 경우 Main Class 선택 / 외부 추가용 Jar 파일 생성할 경우 생략
4. 위 2번 순서에 Output directory 위치에 Jar 파일 생성
2. 외부 Jar 파일 추가해서 사용하기
Spring Boot 프로젝트에 위에서 생성한 printjar 파일을 외부 jar 파일로 추가해서 사용해 보도록 하겠습니다.
위에서 생성한 printjar 파일 내부 클래스
package lib;

public class PrintJarMain {

    public static void print() {
        System.out.println("PrintJar Call!!");
    }

    public void test() {
        System.out.println("test");
    }


}
1. File > Project Structure

2. Modules > main > + 버튼 클릭 > JARs or Directories... > 위에서 생성한 printjar 파일 선택
3. Main 함수
- 외부 jar로 추가한 printjar 내부 클래스의 메소드 호출
@SpringBootApplication
public class AopApplication {

    public static void main(String[] args) {

        PrintJarMain printJarMain = new PrintJarMain();
        System.out.println("<<<<<===============>>>>>>>>>");
        printJarMain.print();
        System.out.println("<<<<<===============>>>>>>>>>");
        printJarMain.test();
        System.out.println("<<<<<===============>>>>>>>>>");
        SpringApplication.run(AopApplication.class, args);
    }

}
4. 결과
<<<<<===============>>>>>>>>>
PrintJar Call!!
<<<<<===============>>>>>>>>>
test
<<<<<===============>>>>>>>>>
728x90
반응형
'Tool > Intellij' 카테고리의 다른 글
| [Intellij] 프로젝트에 VM option, argument 설정 (0) | 2022.03.11 |
|---|---|
| [Intellij] git project import 방법 (0) | 2022.03.11 |
| [Intellij] gradle 프로젝트 JDK 확인 (0) | 2022.01.05 |
| [Intellij] gradle 프로젝트 import 방법 (2) | 2022.01.05 |
| [Intellij 2020.3] node.js 프로젝트 생성 (0) | 2021.07.11 |